A couple of weeks ago I received an email from my daughter, Melissa, requesting one of my recipes. Apparently she was able to purchase some beef Tri-Tip steaks at her local Costco and remembered it was one of my favorite cuts of meat to use on the BBQ. What made this request unusual is that Melissa lives in Canberra, ACT, Australia. In all my travels to Australia (I’ve been there more than 20 times) I have never seen Tri-Tip sold either in roast form or cut into steaks. In fact, its only been the last couple of years that Tri-Tip could be had in Texas. I know that because my brother, Bob, wanted to replicate my recipe after a visit with his family to California only a couple of years ago and he had a difficult time finding the elusive cut in or around Austin. I suppose now that since Tri-Tip has apparently found its way to the capital of Australia that is a further testament to the ever-reaching tentacles of Costco. In any event, I can’t think of a single family member (save my daughter Candace, a vegetarian) that doesn’t love Dad’s BBQ Marinated Tri-Tip Steaks.
While known by different names around the globe the Tri-Tip is a triangular roast cut from the bottom sirloin of each side of beef. In roast form, in the butcher’s case, they range from 1.5 to 4 pounds. The average Tri-Tip is nicely marbled providing some excellent flavor. The cut came to fame in California in the 1950’s as a local BBQ specialty in the town of Santa Maria, California where the roasts were typically cooked whole, usually over an open wood fire and then sliced cross-grain before serving. The much-loved Tri-Tip is at the center of menus for local restaurants and fund-raisers in and around the Santa Maria area.
 While I have BBQ’d the whole roasts myself I find that cutting the roast into individual steaks and then barbecuing those steaks over an open flame is the best execution. When on sale, Tri-Tip roasts can be had for under $3 per pound here in Southern California and since there is very little waste the steaks end up at about 1/3 the price of boneless rib-eyes with arguably as much flavor and less fat. In some cases there is a layer of fat that can run about 1/8 inch thick that must be removed from one side of the roast before carving the steaks . However, when I purchase the roasts from my neighborhood Stater Brothers market (one of the few chain grocers to still have an in-store butcher shop) that band of fat is often already trimmed away. Costco and many other stores do sell the Tri-Tip already trimmed into steaks but the price is commensurately higher and I prefer to trim my own. When Tri-Tip roasts are on sale, I usually buy 3 or 4 roasts and then cut them all up into steaks; divide the steaks into packages of varying sizes in Ziploc freezer bags and label them with the date purchased before stashing in the freezer. They keep nicely for up to 6 months and require about 24 hours in the fridge to thaw before cooking.
 I always marinate the steaks for at least 24 hours before cooking.
Dad’s Marinated Tri-Tip Steak
2-3 pound WholeTri-Tip Roast
1 Large Onion
2 Red, Yellow or Green Bell Peppers
½ cup Teriyaki Marinade
1/8 cup pickled jalapeno slices
2 Tbsp minced garlic
1 Tsp Seasoning Salt
2 Tbsp Cracked Black Pepper or Montreal Steak Seasoning
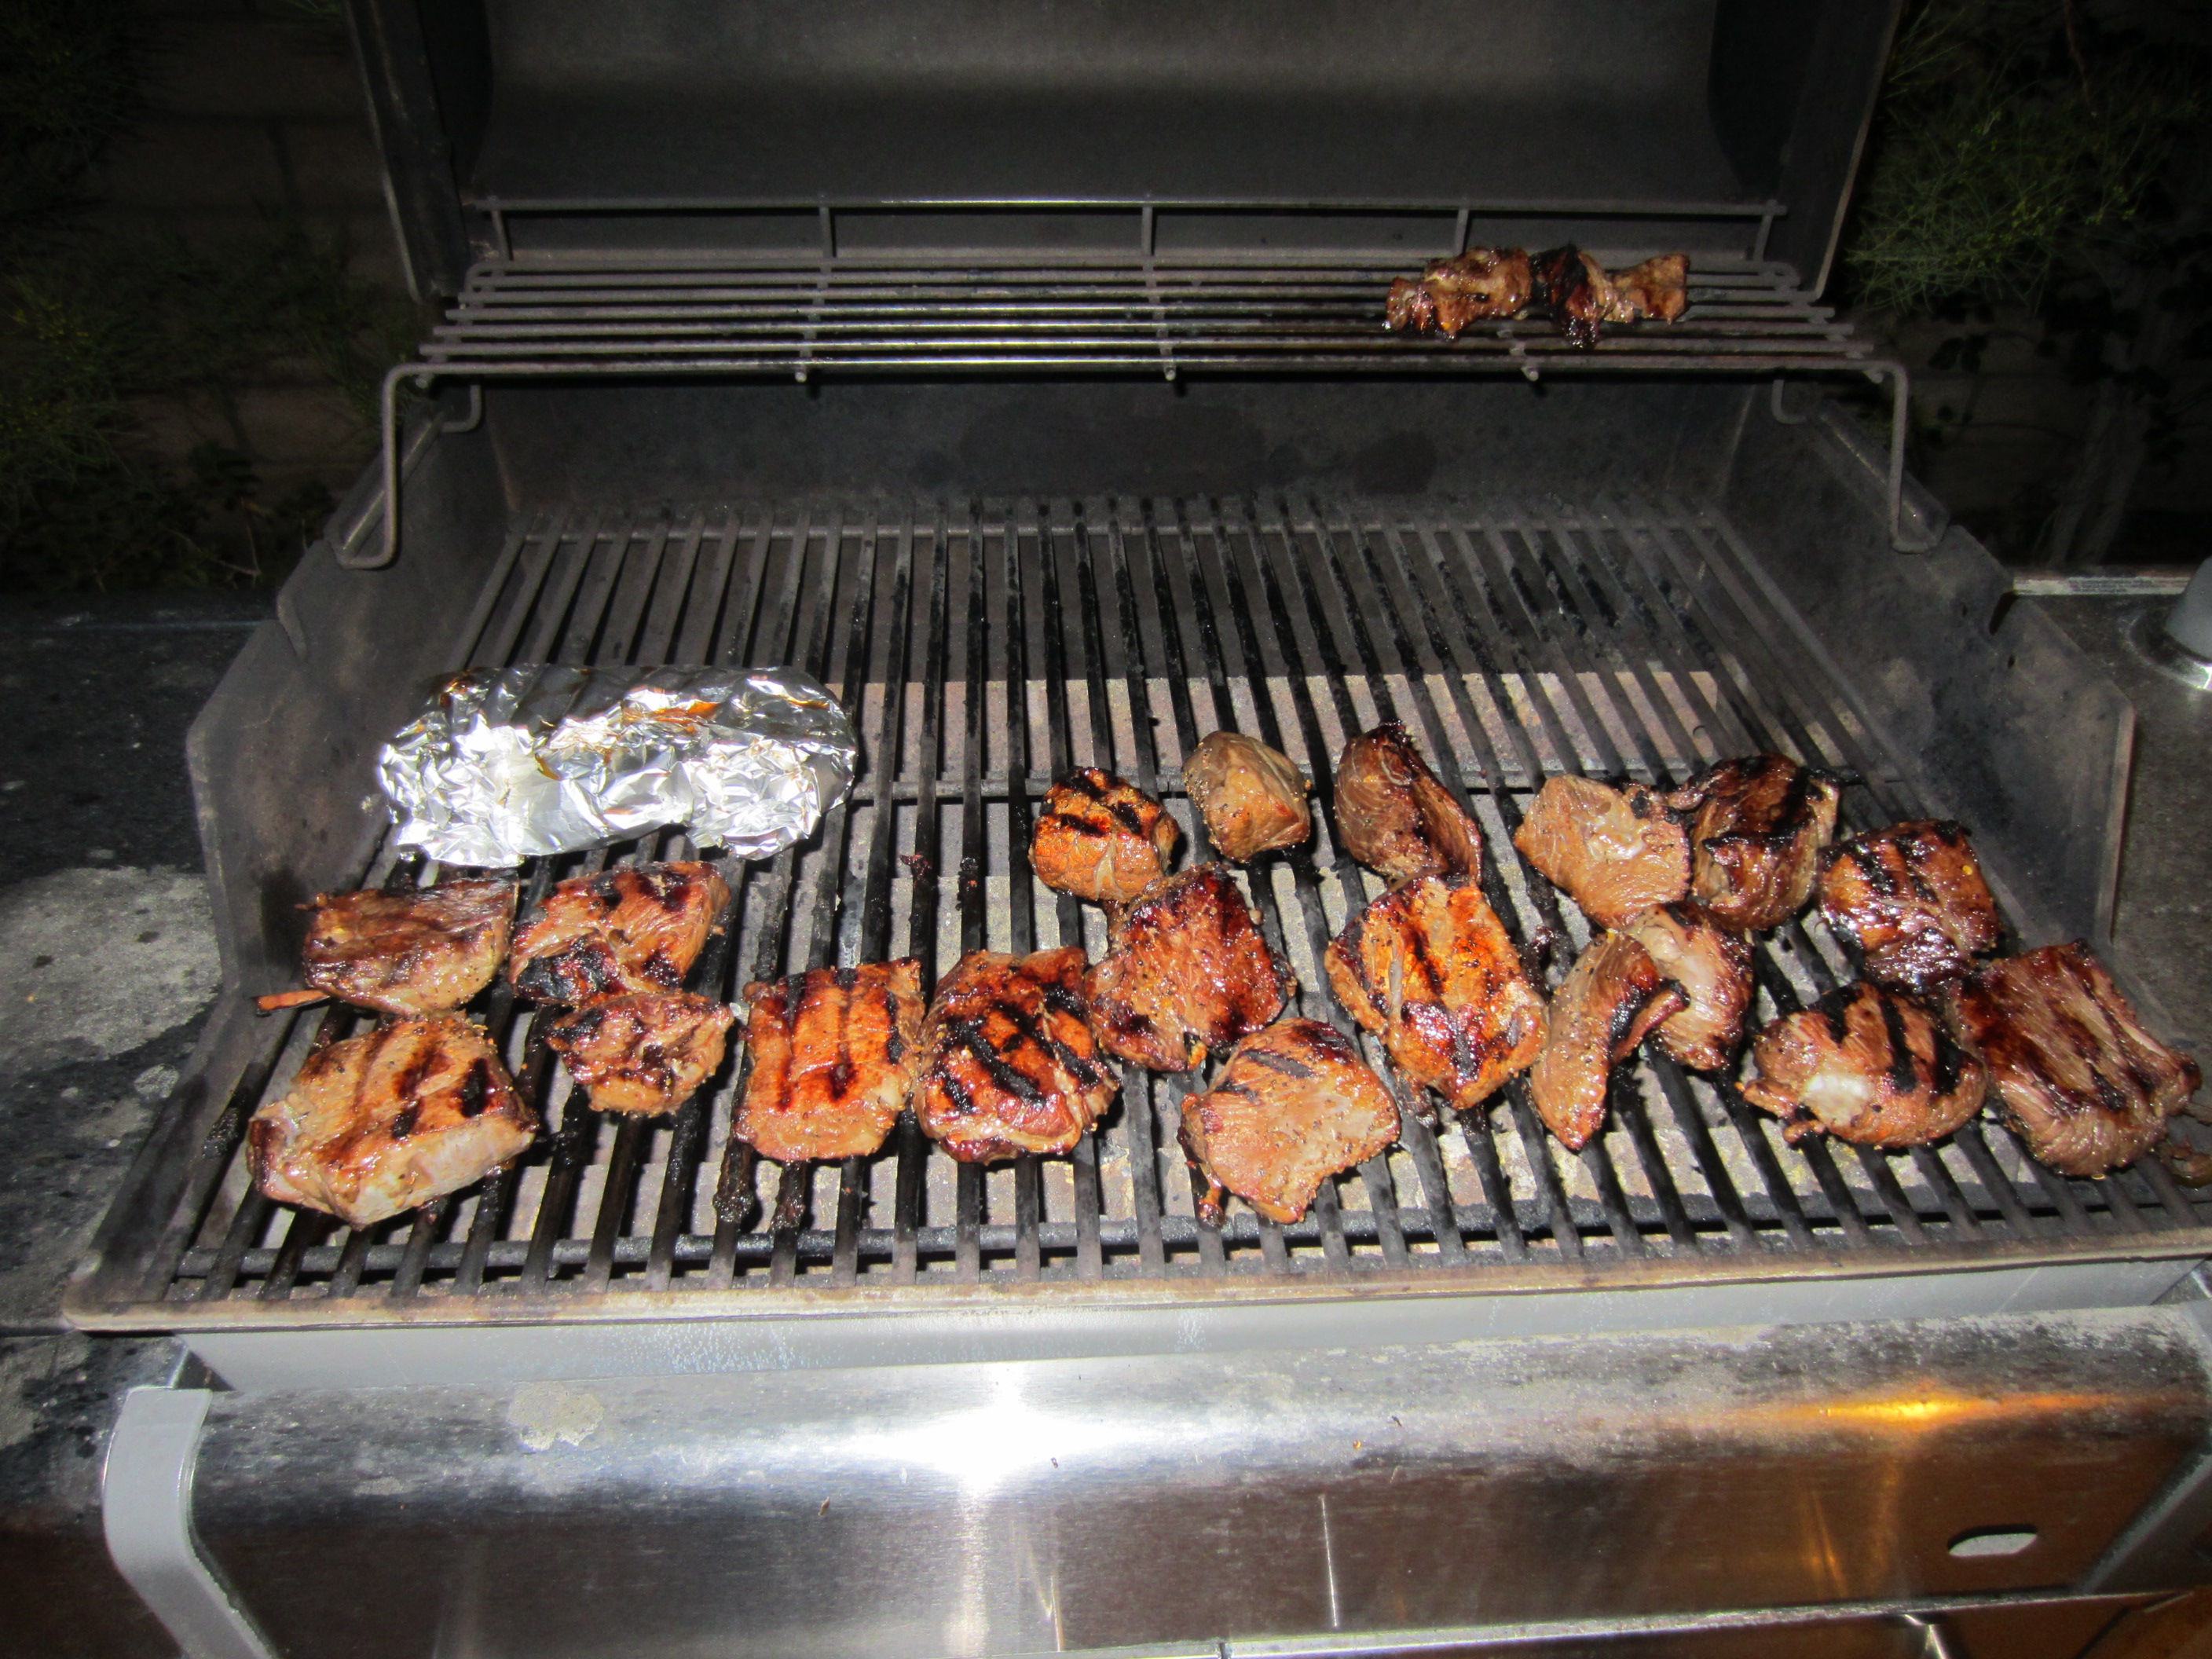
 Trim Tri-Tip Roast of excess fat (leave some intact for additional flavor if desired). Cut the roast into steaks approximately 1 inch thick weighing 4 to 6 ounces each (will make 8 to 12 steaks). Set aside.
Julienne the onion and bell pepper into ¼ inch wide strips. Combine with all other ingredients in large mixing bowl. Stir until well mixed. Place steaks into Gallon size Ziploc bag then pour contents of mixing bowl into the bag, seal, and shake well. Lay flat in refrigerator for 24 hours, turning bag occasionally.
Remove steaks from marinade reserving everything left in the Ziploc bag. Liberally Season the  steaks with Cracked Black Pepper or Steak Seasoning. Remove vegetables from marinade along with 1 oz of liquid and place vegetables and liquid in an aluminum foil into a “hobo package”.
Pre-heat grill to High. Place vegetable hobo package directly on grill approximately 5 minutes before steaks, turn once when turning steaks. Place steaks on grill and cook until “done”, as desired,(approximately 3-4 minutes, each side, for medium rare).
Remove hobo package and steaks from grill. Serve steaks with share of vegetables from the hobo package covering.
Serve with oven fried Potatoes or baked potato and grilled asparagus.
Wine pairing: Pinot Noir or Cabernet Sauvignon